Hydrangea Care Tips
Types of Hydrangea:
Endless Summer: 3-5' x 3-5'
Oak Leaf: 5' x 5'
Eclipse: 3-5' x 3-5'
Vanilla Strawberry: 6-7' x 5-6'
Tips
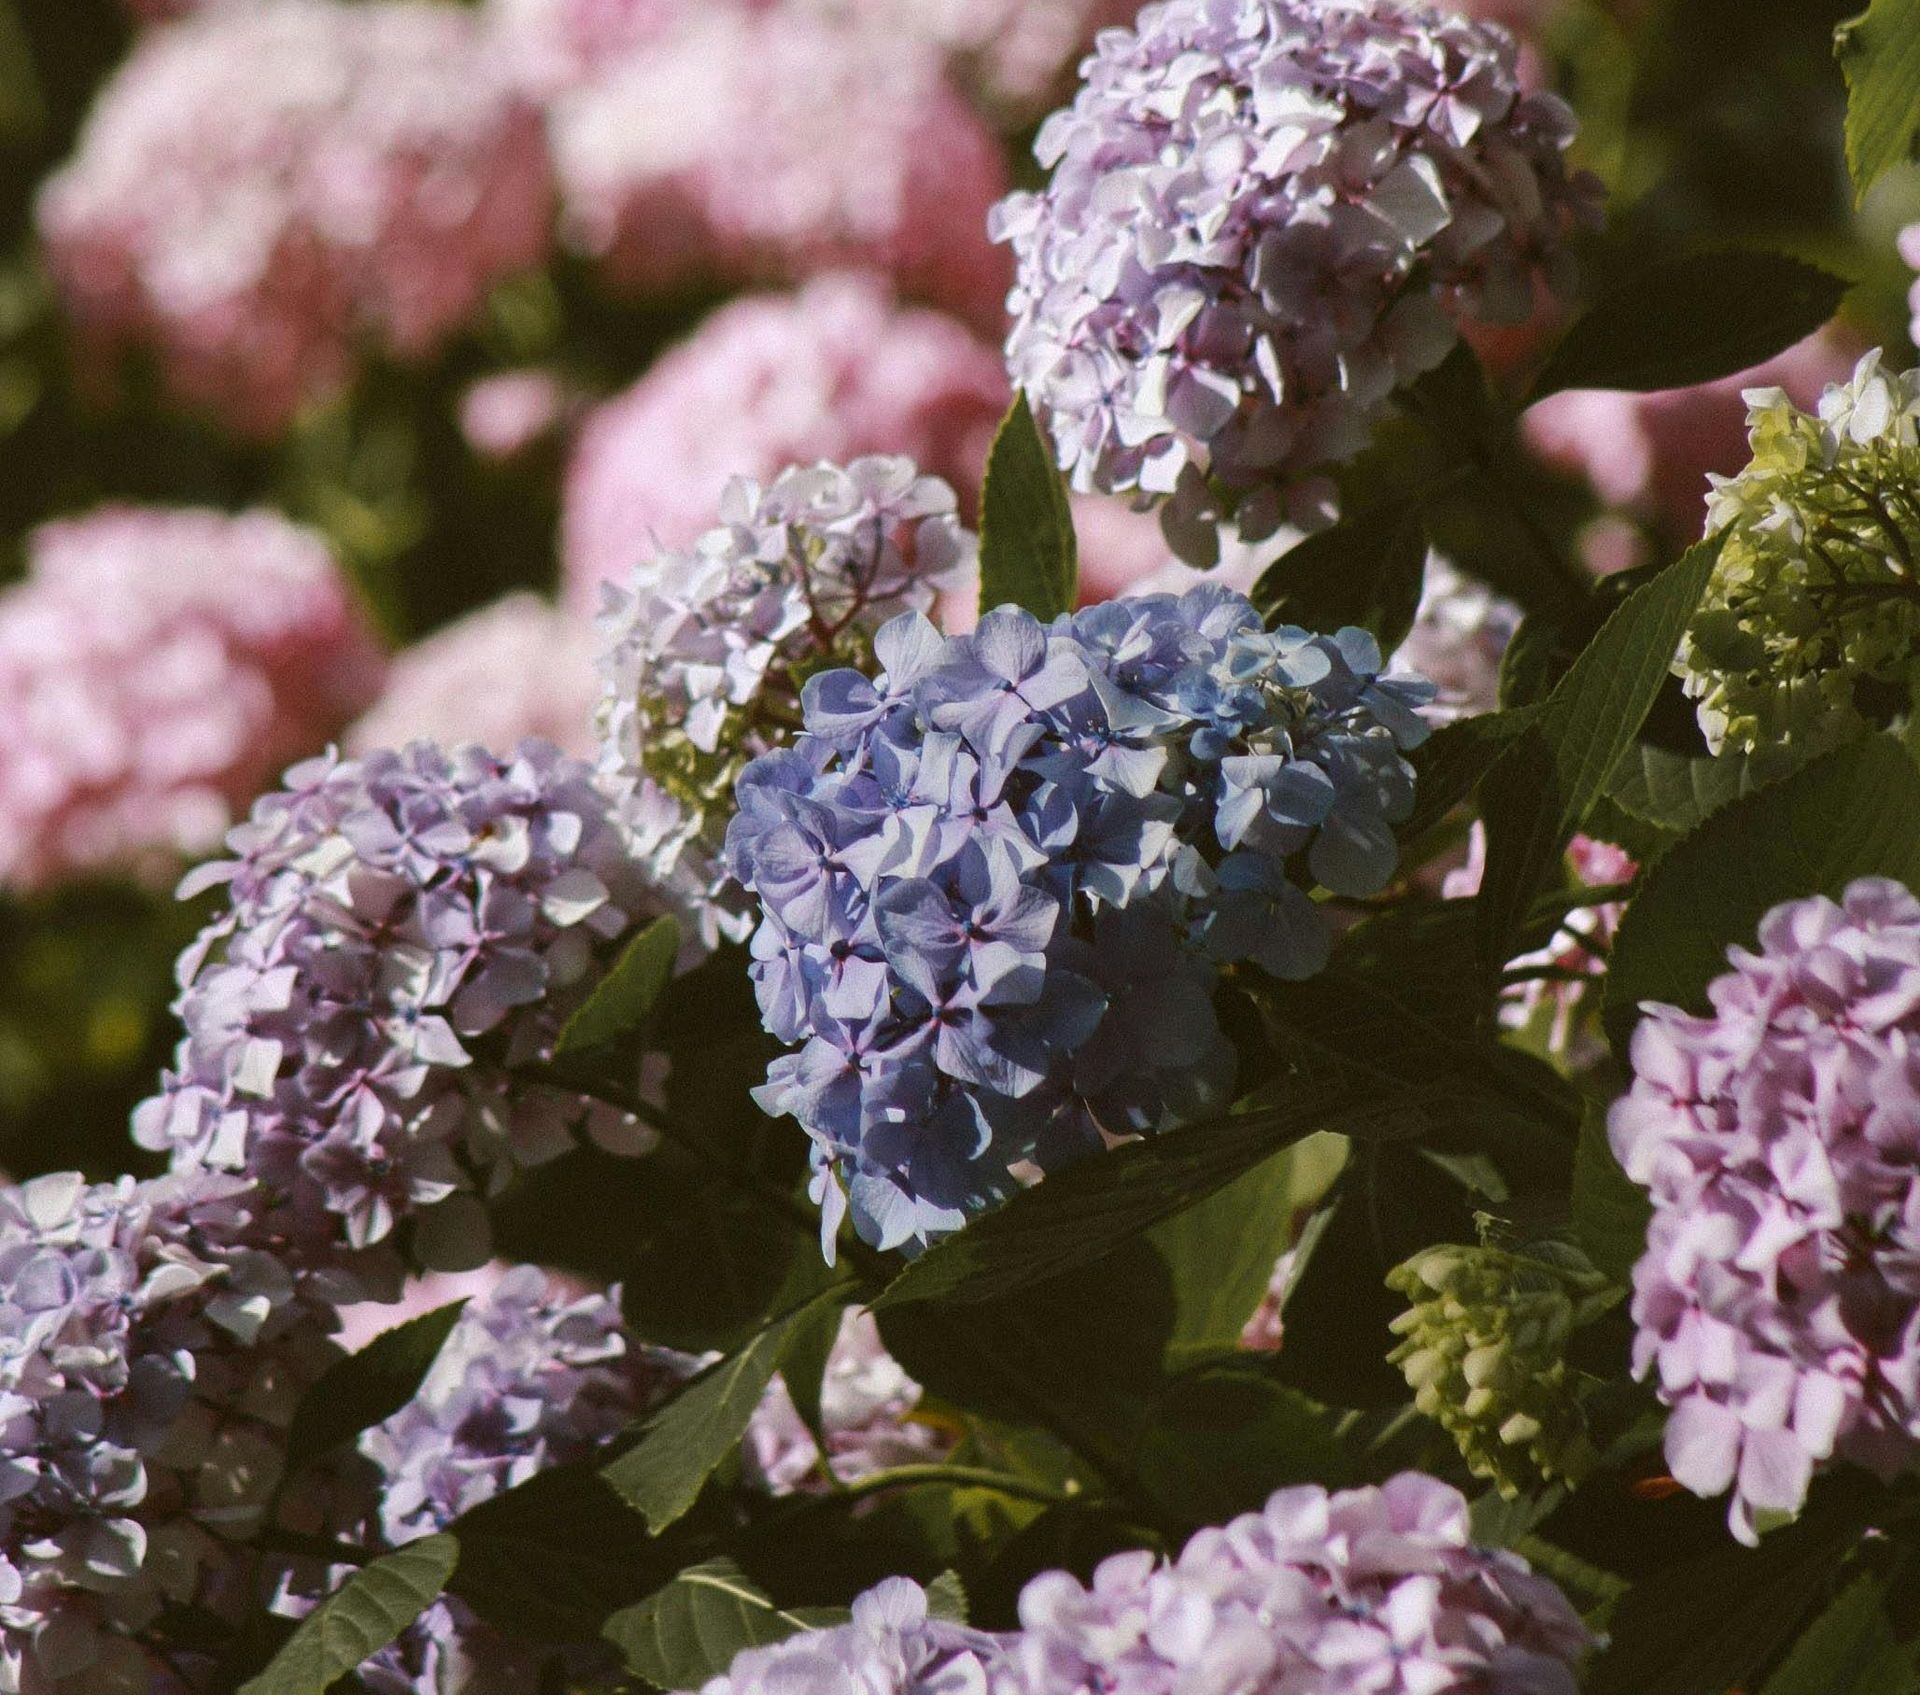
Planting in fall allows hydrangeas to establish strong roots before spring growth. In colder climates, plant earlier in the fall & water regularly during dry fall & winter periods. Early spring is also suitable, but avoid planting during summer heat or the hottest part of the day. Most hydrangeas prefer partial shade or sun, with morning sun & afternoon shade being ideal. Afternoon shade is crucial in hot, dry climates. Hydrangea flower color depends on soil:
pH 5.0–5.5(acidic): Blue flowers; 6.0–6.5+ (neutral to alkaline): Purple to pink flowers
Start by testing your soil pH, then adjust based on your desired color.
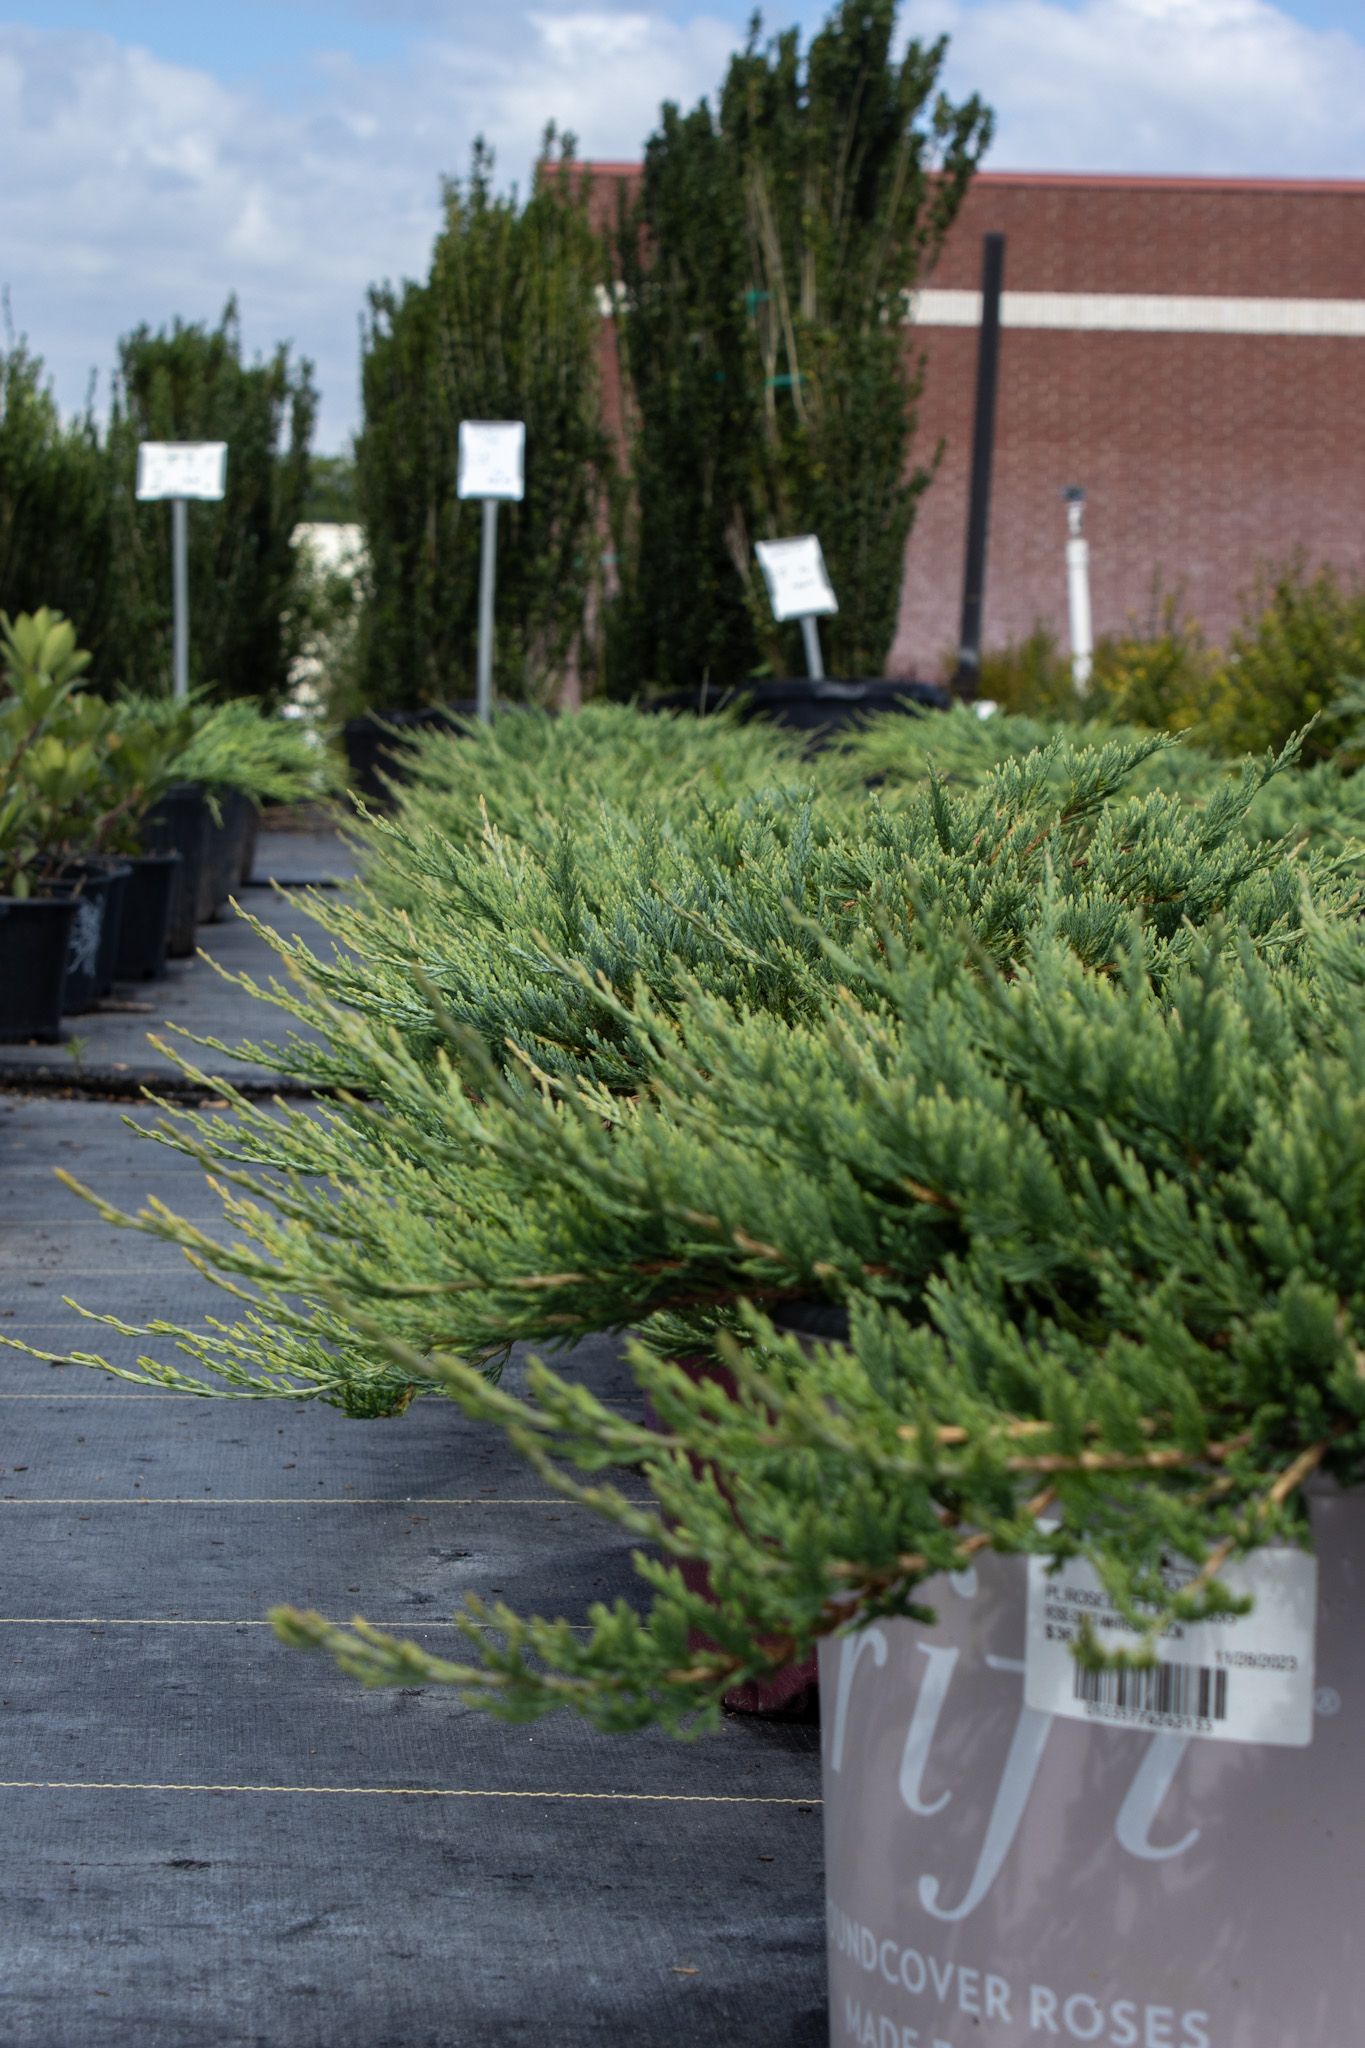
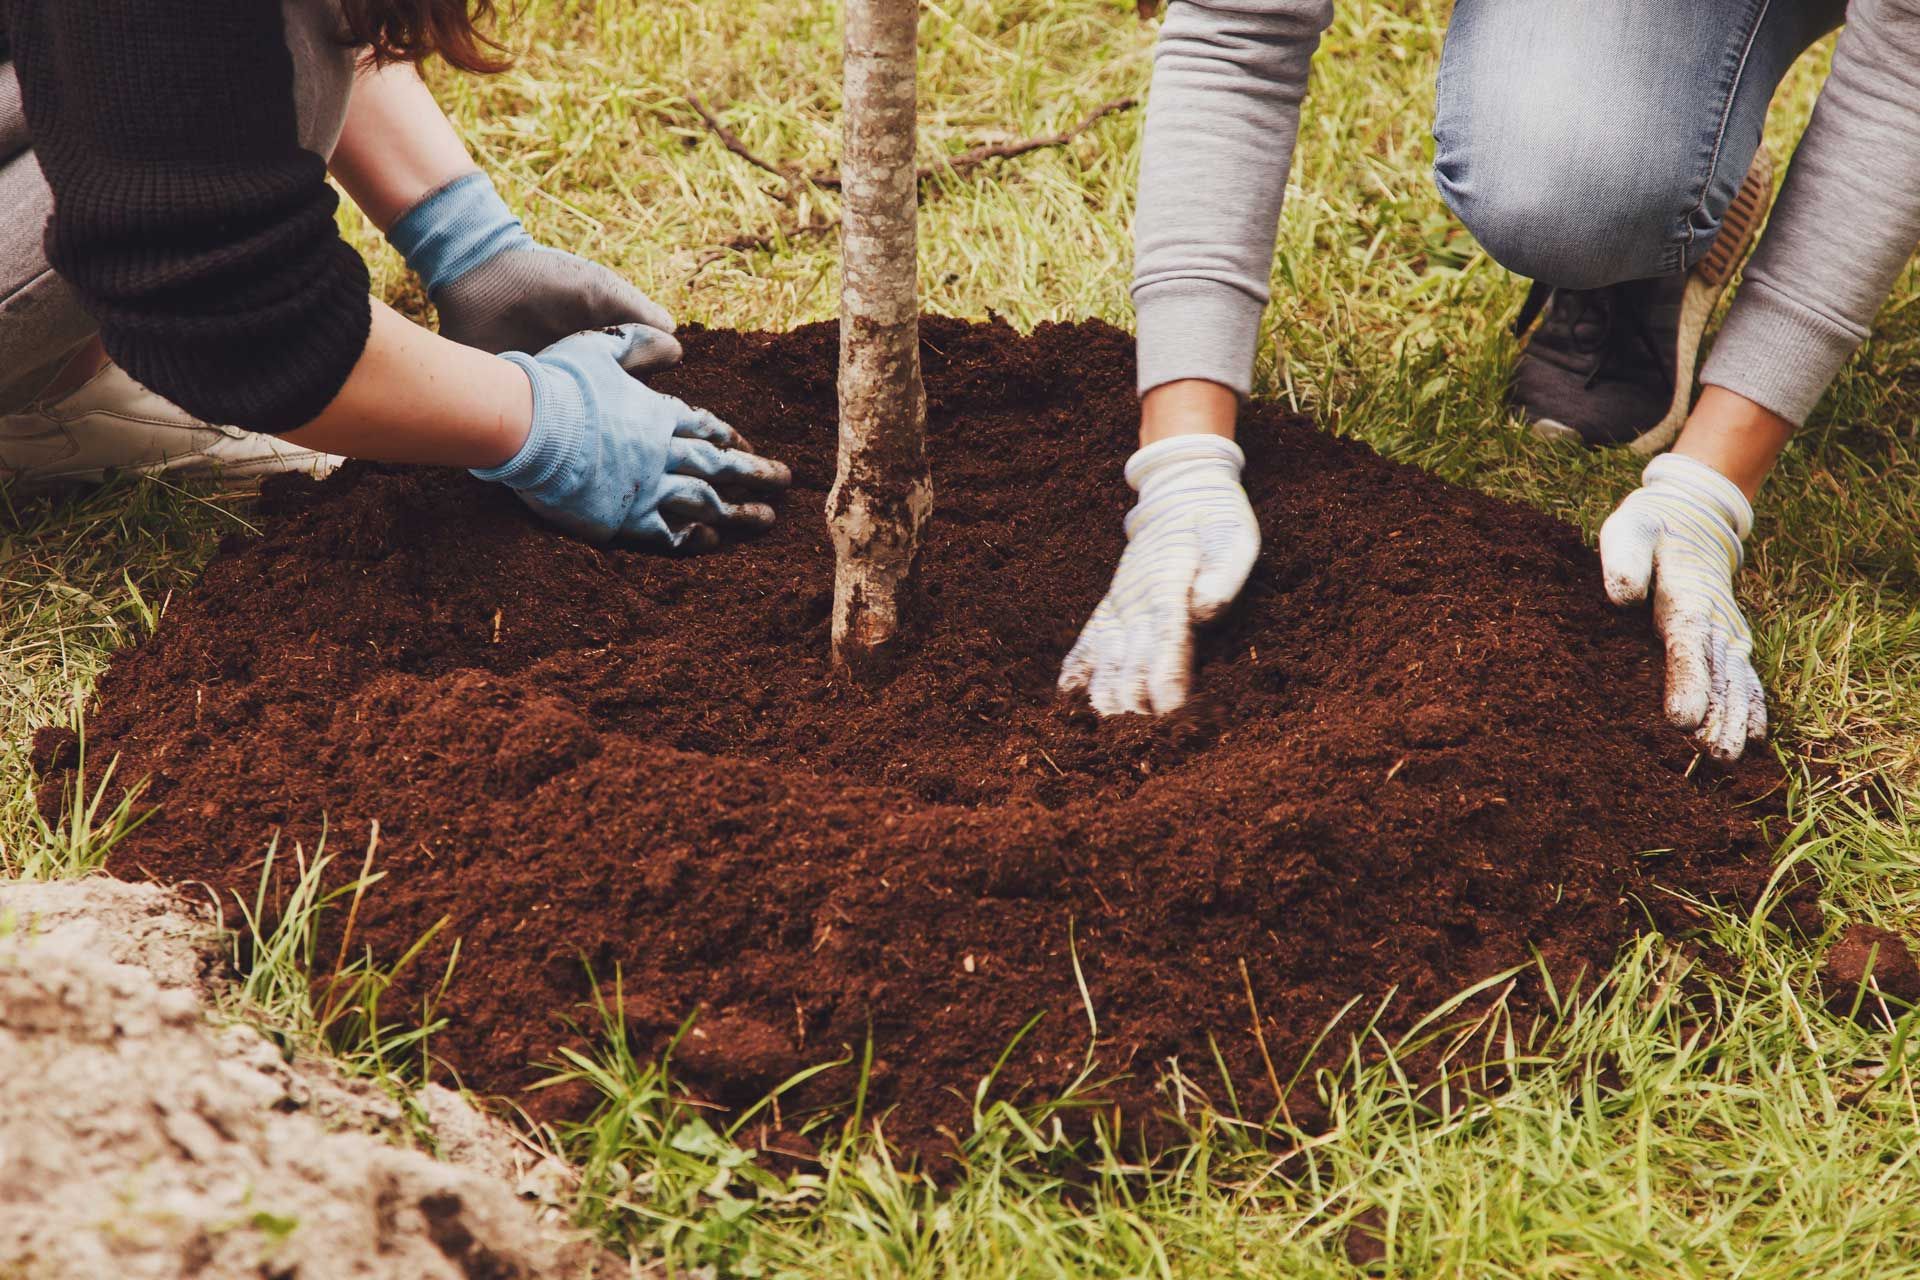
How to plant Hydrangeas:
When planting keep your soil type in mind if your soil needs to be amended do so. When planting make sure the root ball is above level ground by 2 inches to prevent rot root or fungus.
How to care for your Hydrangeas:
Fertilizing:
The best fertilizer depends on your soil and region, but a well-balanced fertilizer is usually ideal. Avoid high-nitrogen fertilizers, as they can reduce blooming.
• Smooth hydrangeas (H. arborescens): Fertilize once in late winter or early spring.
• Oakleaf & Panicle hydrangeas (H. quercifolia & H.paniculata): Feed twice—once in spring and again inearly summer.
• Bigleaf hydrangeas (H. macrophylla): Fertilizelightly three times during the growing season,starting in early spring.
Pruning:
The main form of care for hydrangeas is deadheading, which isn’t technically pruning. While it can boost blooms & maintain a tidy appearance, deadheading isn’t necessary for the plant’s health. Hydrangeas don’t need winter pruning & can be left untouched for seasonal. However, pruning depends on variety.
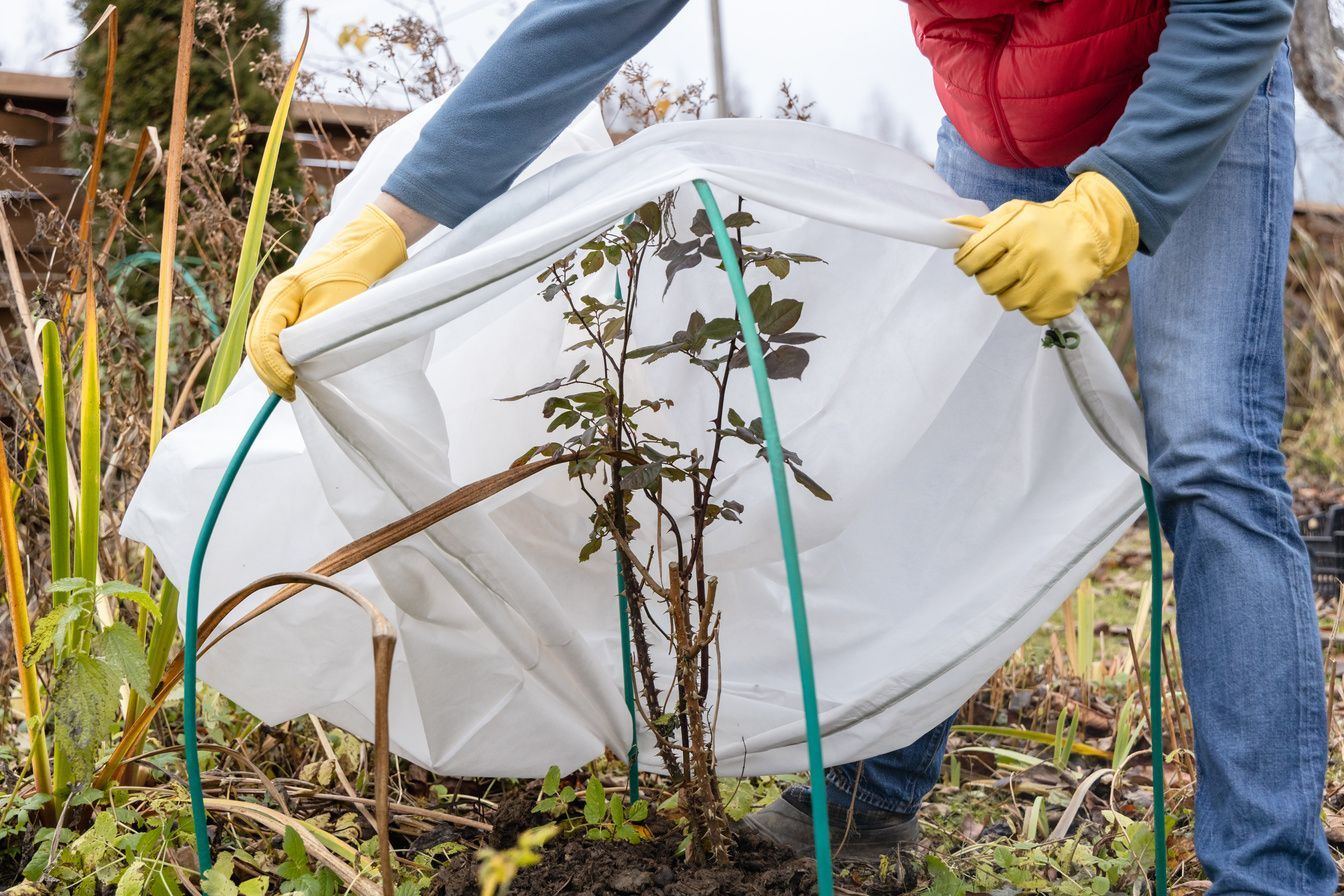
• Old wood bloomers (e.g., Mophead hydrangeas, including reblooming types) can be pruned in early fall after flowering.
• New wood bloomers (e.g., Panicle hydrangeas)should be pruned in late winter or early spring.
Pro Tips
Sprayer Use:
- A pump-up sprayer is recommended.
- Avoid leaving chemicals in the sprayer after use.
Seasonal Adjustments:
- Reduce spraying during hot summer months following chemical instructions.
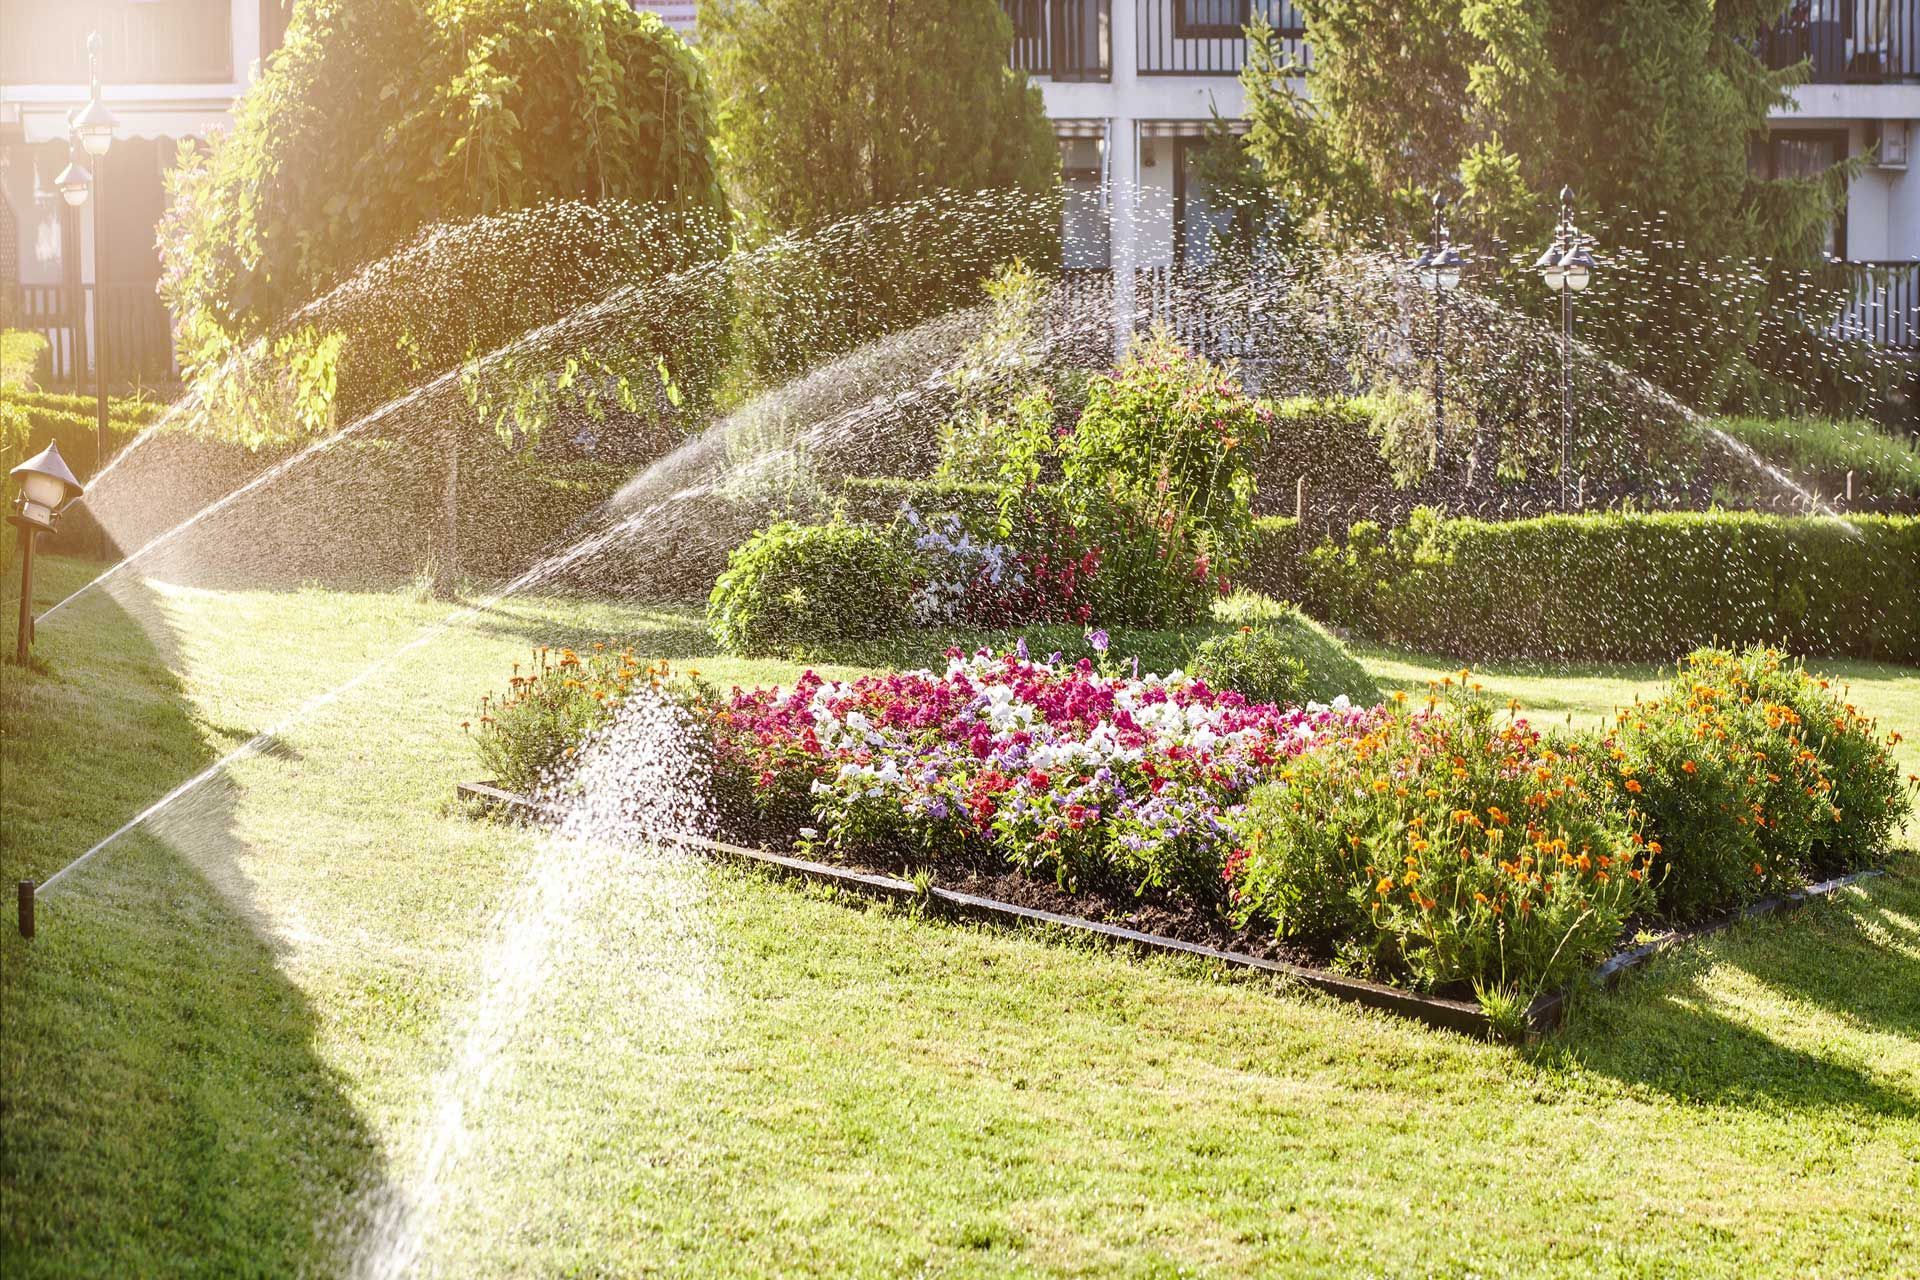
Watering Systems:
- Avoid overhead watering to minimize fungal leaf issues.
- Use drip irrigation as the best method for watering.
Types of Diseases
Botrytis Blight Fungus
Botrytis Blight targets flower buds, often killing them before they open. Infected flower parts can spread the fungus to leaves below. Early signs include water-soaked spots on flowers, followed by reddish-brown lesions.
Treatment: To prevent Botrytis Blight, maintain low humidity, ensure good airflow, and properly space hydrangeas. Water early in the day, focusing on the roots, not the leaves or flowers. Sanitize pruning shears with bleach, remove dead or damaged plant material, and treat persistent fungus with fungicides.
Cercospora Leaf Spot
Identify: Small brown or purple spots develop on lower leaves, enlarging with tan or silver centers and dark borders. The disease spreads upward via splashing water from rain or sprinklers, causing heavily infected leaves to drop.
Treatment: Remove and discard fallen leaves to reduce fungal spores. Avoid wetting foliage when watering. Treat leaves with Immunox, Daconil, or Natria Disease Control as directed, and reapply next summer to prevent recurrence.
Aphids
Identify: Aphid feeding can lead to leaf yellowing or distortion. They also excrete honeydew, a sugary liquid waste that can coat leaves and surfaces below. This sticky substance can promote the growth of sooty mold, a black fungal coating that, while not directly harming the plant, can reduce sunlight exposure, hindering photosynthesis. Additionally, ants are attracted to honeydew and often protect aphids from predators by grooming them to stimulate honeydew production.
Treatment: To manage an aphid infestation, use a strong water spray to dislodge them or apply insecticidal soap.
Hydrangea Rust
Identify: Hydrangea rust is easy to identify by the orange spots on the undersides of leaves, which cause yellowing on the top and eventually lead to leaf death. This fungal disease spreads through water splashing from rainfall or watering. Infected leaves will fall off as the disease progresses.
Treatment: To prevent hydrangea rust, avoid overhead watering. Watering at the base of the plant helps stop the disease from spreading. If the issue is mild, simply remove the infected leaves to prevent the rust from spreading. For more severe cases, apply a fungicide specifically designed to treat rust.
Powdery Mildew
Powdery mildew is caused by various fungi that thrive in sunlight but require moisture to spread. It is often more aggressive on shade-loving plants. Overwatering hydrangeas and neglecting garden cleanliness can promote the growth of this fungus.
Treatment: Remove and discard affected leaves or plant parts (avoid composting them). Applying a copper fungicide, available at garden centers, can help eliminate this fungal disease.
Root Rot
Container-grown hydrangeas, especially oakleaf hydrangeas (Hydrangea quercifolia), are highly susceptible to Phytophthora root rot. The pathogen can be introduced through contaminated stock, roots, crowns, debris, or potting media. Poor drainage and overwatering in containers can worsen the disease.
Identify: Root rot causes sudden wilting & yellowing of leaves. Infected roots &the crown at the soil line, as well as the stem above, may show brown discoloration.
Treatment: Root rot can be prevented through sanitation, proper cultural practices,, & chemical treatments. Key steps include good water management to avoid water-logging, grouping plants by container size & irrigation needs. Take cuttings from healthy plants & use fungicides or bio-pesticides to prevent infections.